SOURCE-CHECKED · EVERYDAY TECH
Windows microphone works in Settings but fails in an app
Use Windows 11’s recorded microphone sample to decide which setting to check next.
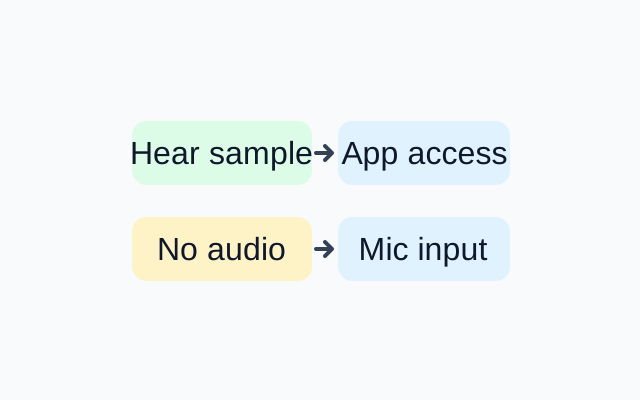
Windows 11 can record a sample from the microphone selected in Sound settings. If you hear your voice in the sample but an app still cannot use the microphone, check the app’s access settings. If you cannot hear it, revisit the selected input and its volume.
Record and play a sample
- Open Start > Settings > System > Sound.
- Under Input, select the microphone you want to test and open its Properties page.
- Under Input settings, select Start test and speak normally. Select Stop test, then Play.
If you cannot hear the recording, check which microphone is selected and adjust Input volume if needed. Microsoft’s microphone test instructions describe these controls.
Check the app’s access
Open Start > Settings > Privacy & security > Microphone. Turn on Microphone access and Let apps access your microphone. If the app appears under Choose which apps can access your microphone, turn on its switch. For a desktop app, turn on Let desktop apps access your microphone. Microsoft’s permission instructions distinguish the app and desktop app controls.
Hearing the sample confirms that Windows recorded sound from the selected microphone during the test. It does not identify every cause of an app failure.
KEEP GOING
More to explore.
SOURCE-CHECKEDEveryday tech
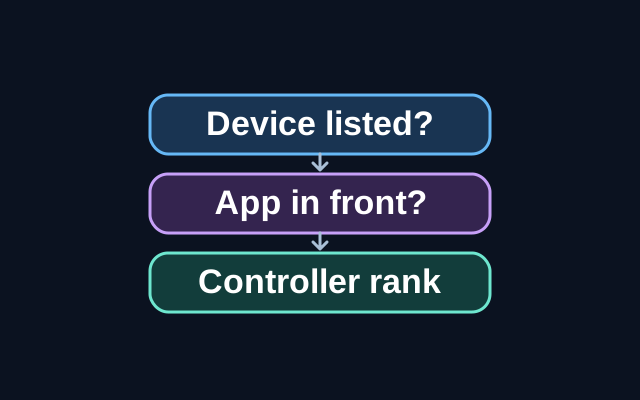
Windows Dynamic Lighting settings not changing your keyboard?
A troubleshooting guide to the different controls that can override a Windows Dynamic Lighting effect.
SOURCE-CHECKEDEveryday tech
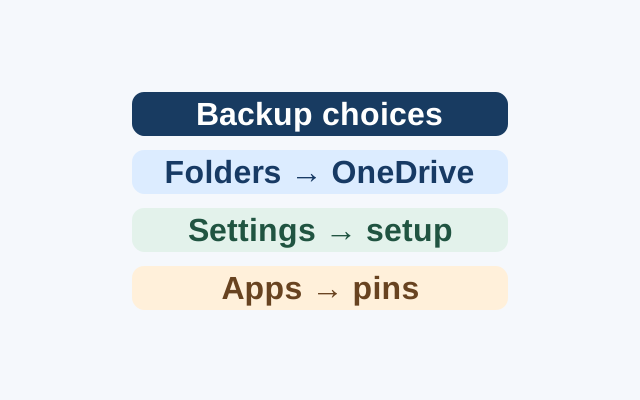
Windows Backup on a new PC: what comes back?
Selected folders become available through OneDrive. Supported preferences can return during Windows setup, while apps return as pins that may lead to restoration or an installer.