SOURCE-CHECKED · EVERYDAY TECH
Windows 11 Snap layouts: fix cramped split screens and missing layouts
Arrange Windows 11 Snap layouts, estimate column widths at your display scale, and diagnose missing menus, narrow zones, and FancyZones conflicts.
Press Win + Z, choose a Snap layout, and place your first window in a zone. Snap Assist can then show thumbnails of other open windows so you can fill the next zone. If the result feels cramped, check your display scale and the widths your apps need before trying a layout with more columns. A high resolution alone does not tell you how much usable width each window will get. Microsoft’s Snap guide
Arrange and resize windows
Win + Z opens the Snap layout menu for the active window. You can also hover over a window’s maximize button. With a mouse, dragging a window to the top of the screen opens the Snap bar; dragging toward a side or corner offers other placements. Win + arrow keys provide a keyboard route. After placing a window, Snap Assist shows other open windows to fill the remaining space. Microsoft’s Snap guide
For a two-window workspace, start with two columns and look at the content in each window. If one needs more room, drag the shared separator: Windows resizes the adjacent windows together. The layouts offered in the menu depend on screen size and orientation. Three columns are associated with larger landscape displays, while portrait displays may offer a top-and-bottom arrangement. There is no single layout menu to expect on every monitor. Microsoft’s Snap layout guidance
Why a high resolution can still feel cramped
Windows display scaling changes the relationship between physical screen pixels and the logical, device-independent space used to size interface elements. As a planning estimate, divide the display’s physical width by its scale factor:
Estimated full width = physical display width ÷ (scale percentage ÷ 100)
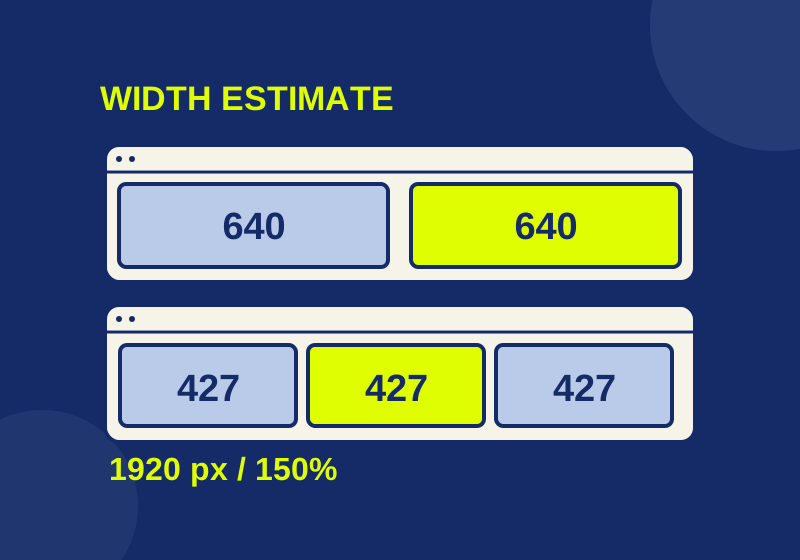
For example, a 1920-pixel-wide display at 150% scale gives 1920 ÷ 1.5 = 1280 effective pixels across the full display. Two equal columns start at an estimated 640 each; three equal columns start at about 426.7 each. These figures are calculations, not measurements of Windows Snap zones. Window borders and the actual usable work area can reduce the space available. Microsoft’s explanation of DPI and device-independent pixels
| Display width and scale | Estimated full width | Two equal columns | Three equal columns |
|---|---|---|---|
| 1366 pixels at 125% | 1092.8 | 546.4 each | 364.3 each |
| 1920 pixels at 150% | 1280 | 640 each | 426.7 each |
| 2560 pixels at 150% | 1706.7 | 853.3 each | 568.9 each |
| 3840 pixels at 200% | 1920 | 960 each | 640 each |
A third column reduces each window’s share by a third compared with an equal two-column layout. Whether that width is comfortable depends on the app and its contents. These estimates cannot predict which layouts Windows will offer.
If part of the width is occupied by a side panel or side taskbar, subtract a reserve from the estimate. At 1920 pixels and 150% scale, reserving 280 effective pixels leaves 1000. That works out to 500 + 500 for equal halves, or about 666.7 + 333.3 for a wide-and-narrow split. Treat the reserve as your planning input, not a measurement Windows supplies.
You can enter your own resolution, scale, and reserve in the split-screen width planner. It calculates equal halves, a two-thirds and one-third split, and equal thirds. If you know an app’s minimum width, you can enter it to check the estimated columns against that value; leave the field blank if you do not know it. The standalone HTML page can be saved and opened locally, and its result can be printed. Enter resolution width in physical pixels and display scale as a percentage. Enter any reserve in effective pixels, so you do not subtract a physical-pixel sidebar from a logical-pixel total. The page processes your numbers in the current browser tab and does not upload them. It does not detect app minimums or predict the Snap menu.
Check the selected monitor’s scale and resolution under Settings > System > Display. Use the recommended resolution for a sharp picture. Microsoft warns that a lower resolution can blur or stretch the image. First try wider zones or two windows instead of three. Microsoft’s display settings guide
If the layout menu is missing
First check Settings > System > Multitasking > Snap windows. Snap windows has a master switch and separate options for behaviors such as the maximize-button menu, the top-of-screen Snap bar, Snap Assist, and groups. If Win + Z works but hovering over the maximize button does not, check the hover option specifically. Microsoft’s Snap settings guide
If the issue occurs with one app, its custom title bar may prevent the maximize-button hover menu from appearing. Try Win + Z with that window active to distinguish the hover problem from a broader Snap setting issue. Also remember that the menu itself varies with display size and orientation; a missing particular layout is a different symptom from a missing menu. Microsoft’s app guidance
If a window will not fit a zone
An app can have a minimum width too large for a narrow zone, even when the layout menu opens. Try a wider zone or a two-column arrangement, then adjust the shared separator. If your second app needs less room, let the first take the larger share instead of insisting on equal halves. Use the actual content as the check: can you read the text and reach the controls without covering the other window? You can also narrow the app manually to see where it stops, without assuming that every app has the same limit. Microsoft’s app guidance
Microsoft recommends that developers keep an app’s minimum width at or below 500 effective pixels, preferably 330 or less. Those are developer recommendations, not a universal app minimum or a rule for which Snap layouts Windows displays. A calculated 546.4-pixel column therefore does not guarantee that every app will fit.
If suggestions or shortcuts behave differently
If the first window snaps but thumbnails for the next window do not appear, check the Snap Assist option under Settings > System > Multitasking > Snap windows and whether another window is open to select. Microsoft’s Snap guide
If Win + arrow keys behave differently while Microsoft PowerToys is running, check FancyZones. FancyZones has its own custom zones and uses Shift while dragging a window by default. Its Override Windows Snap hotkeys option can change what Win + arrow keys do. FancyZones zones are separate from Windows’ built-in Snap layouts; installing it is not required to use Snap. Microsoft’s FancyZones guide
Return to a Snap group
Windows creates Snap groups from windows you have snapped together. You can return to a group through a taskbar hover, Task View, or Alt + Tab. Treat a Snap group as a way to return to the current arrangement. It does not give you a saved layout file or a promise that the workspace will survive another session. Microsoft’s Snap guide
Source note: The Windows steps above come from the linked Microsoft documentation. The width examples are calculations, and no native Windows Snap interface trial was recorded for this article.
KEEP GOING
More to explore.
SOURCE-CHECKEDEveryday tech
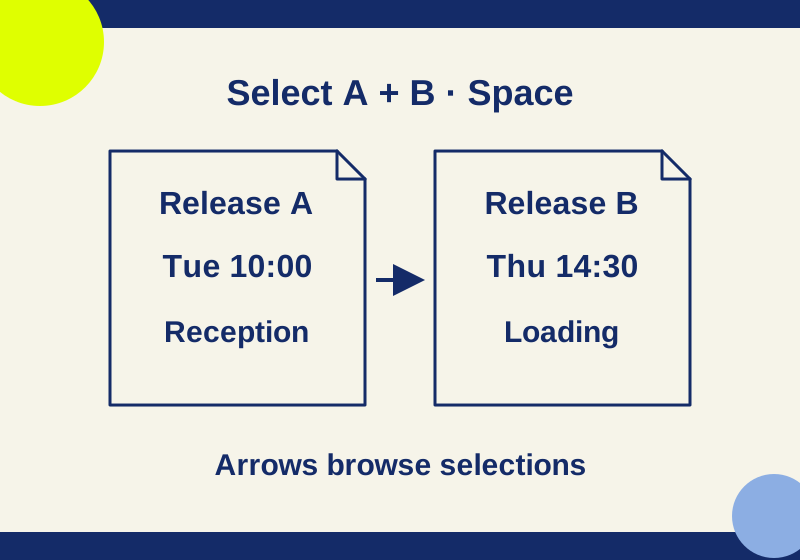
PowerToys Peek: preview Windows files with Space and fix the wrong shortcut
Preview the actual files you selected, with downloadable examples that separate shortcut trouble from preview-format trouble.
SOURCE-CHECKEDEveryday tech
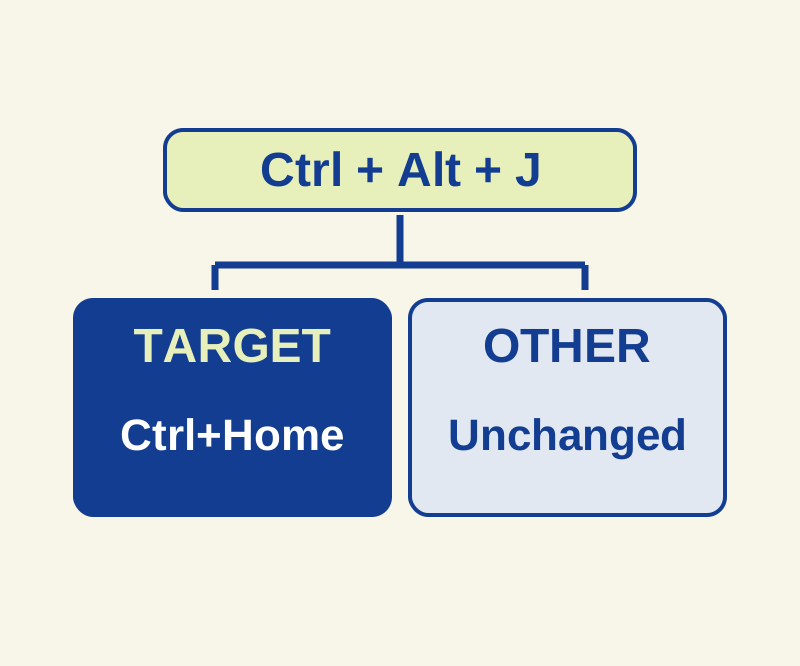
Remap a shortcut in one Windows app with PowerToys Keyboard Manager
Give one app a new shortcut without replacing that shortcut everywhere.