SOURCE-CHECKED · EVERYDAY TECH
Where Windows 11 screenshots go: saved files and clipboard copies
Find Windows 11 screenshots using the shortcut you pressed, Snipping Tool's save settings, and the difference between a file and a clipboard copy.
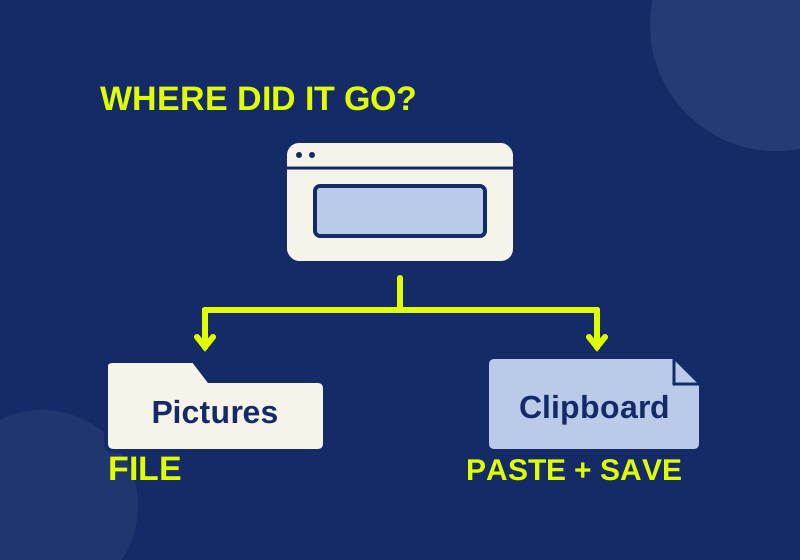
To find a Windows 11 screenshot, start with the keys you pressed. Some captures create a file in Pictures > Screenshots. Others leave an image available to paste. A capture visible in an editor or a notification thumbnail does not, by itself, tell you where a file is saved.
| Shortcut | Expected result | Next check |
|---|---|---|
| Windows+Print Screen | A full-screen file saved in Pictures > Screenshots | Open Pictures in File Explorer, then Screenshots. |
| Windows+Shift+S | A capture overlay; the snip is made when you finish a selection | Check Snipping Tool’s configured folder and try pasting the capture. |
| Alt+Print Screen | The active window copied to the clipboard | Press Ctrl+V in Paint, then save the image if you need a file. |
Find a saved full-screen screenshot
If you pressed Windows+Print Screen, open File Explorer and navigate to Pictures > Screenshots. Look for the image from around the time you captured it. If several files are nearby, open them to identify the right one rather than relying on the newest filename.
If the file you find needs to be uploaded, reopen it from File Explorer first. That confirms you have a file you can select in an attachment picker. Pasting an image directly into a chat may attach it where that feature is supported, but it does not give you a stable file path to use elsewhere.
Use the Pictures folder shown on your PC instead of assuming a path beginning with C:\Users. If File Explorer shows that your Pictures location is under OneDrive, use the location you actually see. Its presence there does not establish where another Windows 11 PC stores screenshots.
Finish a snip, then check its folder
Windows+Shift+S opens the capture overlay. Make and finish your selection before looking for a new capture. If you dismissed the overlay without completing one, there may be no new snip to find.
Current Snipping Tool instructions say snips are automatically saved in a Screenshots folder. In Snipping Tool, open See more > Settings to check its automatic saving behavior and configured folder. Those settings can change, so the folder shown there is a better lead for a Snipping Tool capture than an empty Pictures > Screenshots folder.
If you want another copy in a location you choose, use Save as in Snipping Tool. Choose the folder and filename in the save dialog. For example, support-window.png could be a useful filename for a support ticket; it is only an example, not the name of an existing capture. Select the image format in the dialog rather than changing a filename extension to make it appear to be a different format.
Save an image that is still on the clipboard
Alt+Print Screen copies the active window to the clipboard. A completed region capture may also be available to paste. If you cannot find a file, open Paint and press Ctrl+V promptly. Check that the pasted image is the capture you wanted, including any text that matters. Then use Save as to choose a folder and filename.
An image visible in Paint is not yet proof of a saved file. Save it, then open that file from File Explorer if you need to confirm its location. Likewise, a screenshot notification or thumbnail is a clue that a capture occurred, not a disk pathname.
The Print Screen key has its own Windows 11 behavior: by default, it opens region capture. If pressing it did something different, check Settings > Accessibility > Keyboard > Use the Print Screen button to open screen snipping. That setting can be turned off. You do not need to change it to search for a capture you already made; first follow what appeared on screen and whether you completed a selection.
When Screenshots is empty
An empty folder has several possible explanations. Match the next check to what you did:
- You used Alt+Print Screen. Try Ctrl+V in Paint. That shortcut copies the active window; it does not give you the saved-file location listed for Windows+Print Screen.
- You used Windows+Shift+S or Print Screen and saw an overlay. Consider whether you finished a selection. If you did, check the folder in Snipping Tool’s settings.
- You completed a snip but cannot find it in Pictures > Screenshots. Check whether Snipping Tool’s automatic saving or default folder was changed.
- Paint pastes a different image or nothing useful. The capture may no longer be available to paste. Look for an already saved file in the relevant folder; do not count on the clipboard to retrieve an older image.
If yesterday’s capture still pastes into Paint, save it now. If it does not paste and you cannot locate a file, you may need to capture the screen again. A new capture shows the screen as it is now, so it may not reproduce yesterday’s error or notification.
Check the image you found before sharing it
Open the located image and compare its contents with the screen you intended to capture. Several screenshots taken close together can have similar thumbnails. Read the visible error text or window title to identify the right capture before attaching it.
Check for account details, notifications, or other windows that were included unintentionally. A full-screen capture and an active-window capture can show different amounts of information even when they were made at the same time. Keep the original saved image while preparing a separate copy for sharing if you need to remove unrelated content.
Source note: Based on Microsoft’s Snipping Tool instructions, Windows keyboard shortcuts, and Pictures > Screenshots directions, checked October 7, 2026. This guide covers Windows 11; no physical keyboard, clipboard, or native UI trial was recorded. Older app versions and configurations may differ in automatic saving.
KEEP GOING
More to explore.
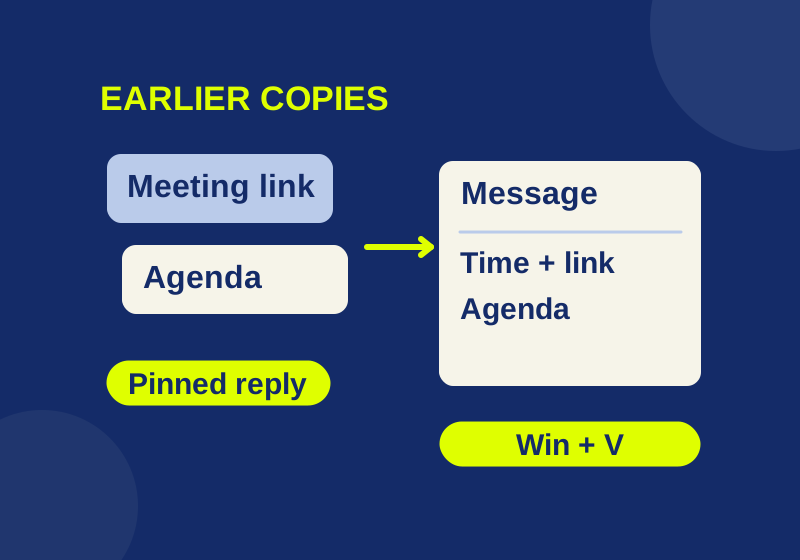
SOURCE-CHECKEDEveryday tech
Windows 11 clipboard history: find earlier copies and save useful snippets
Get back an earlier copy and build a small set of replies, meeting notes, and reusable text. Includes an offline practice sheet.
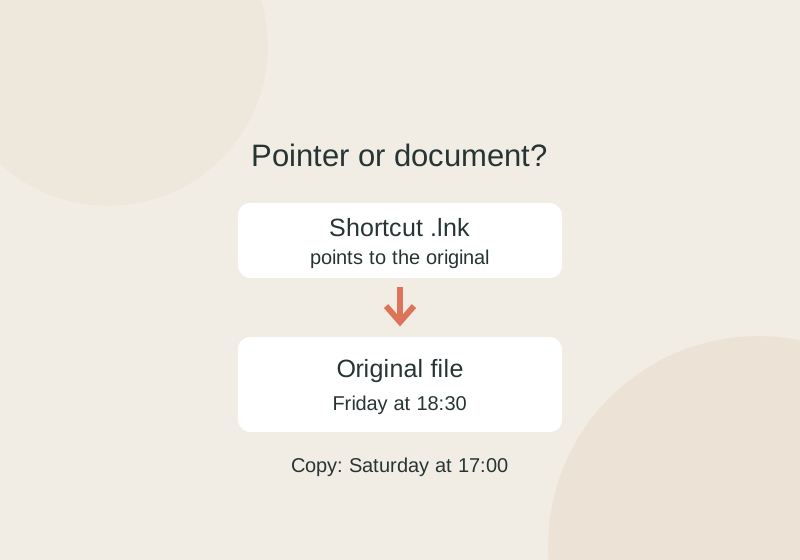
TESTEDEveryday tech
Windows shortcuts vs file copies: send the document, not its .lnk pointer
Copying a .lnk shortcut preserves its pointer to the original. A separate document copy can change without changing the original.