SOURCE-CHECKED · EVERYDAY TECH
iPhone Duplicates missing or confusing? Check detection and merge one set safely
Find iPhone Duplicates, check indexing, inspect a set before merging, verify the surviving photo, and recover an unwanted merge while copies remain available.
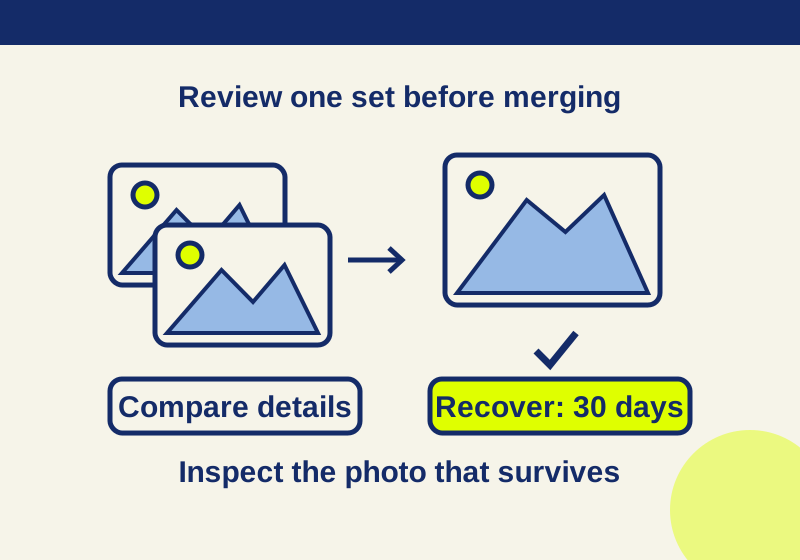
If you cannot find Duplicates in Photos, check the library’s indexing status first. If Duplicates does appear, open one clearly redundant set and compare its members before you tap Merge. Similar thumbnails alone do not establish that Photos has identified a duplicate, or that the photos show the same moment.
Duplicates is missing
In the Collections layout described by Apple, look under Collections > Utilities > Duplicates. Apple says duplicate detection is automatic on iOS 16 and later, but Photos must both index the library and find duplicates before the collection appears. To check for indexing progress, tap Library and scroll to the bottom for its status. Detection needs the iPhone to be locked and connected to power, and it can take up to a few days, depending on the library and background activity. Apple’s duplicate detection instructions explain these conditions.
That gives you three useful distinctions:
- The library is still indexing: Give detection the conditions and time Apple specifies, then check again.
- Indexing has finished, but Duplicates is absent: Photos has not presented an identified set for you to merge. That does not prove every similar-looking image is unique.
- Duplicates is present: Review the sets shown there. Its presence does not mean every pair should be merged.
There is no supported “force refresh” step in these instructions. Avoid deleting a photo merely because its thumbnail resembles another: two expressions in a burst of portraits, or two screenshots with different text, can matter precisely because of their small differences.
A set appears, but the photos might differ
Start with one set you believe is clearly redundant. Open each item and zoom in on the detail that matters: a face, a line of text, the edge of a document, or the part of a scene that changed. Compare the content in the full images, rather than making the decision from thumbnails.
Before merging, note which version or edit you want to keep. If Photos shows details such as date, resolution, or video duration, note those too. The private-use duplicate review worksheet provides fields for one pair, including whether the images show the same content or different moments. Describe the set using a detail you can recognize later, such as the document’s first line or the subject and date. Record exactly what makes your preferred version different, such as a corrected address or readable small print. Keep a filled worksheet private; it is a place for your observations, not a report produced by your phone.
Apple says merging combines the highest image quality and relevant data into one photo and moves the other item or items to Recently Deleted. That describes the merge behavior, but it does not tell you, frame by frame, whether the surviving photo will be the particular edit or moment you prefer. Inspect the candidates before you commit. If you have an independently exported copy that matters to this decision, open it and confirm it is usable; recording that check is more informative than merely noting that an export was requested.
Merge one set, then inspect the survivor
In Duplicates, use Merge beside a set. Apple also provides Select to choose sets and then Merge [Number] Items. For a first pass, one set makes the result easier to inspect than a large selection. Read the number on the merge confirmation and record it if you are tracking the pair. Apple’s merge instructions describe both merge routes.
Afterward, open the surviving photo in the library. Compare the actual content with what you intended to keep, especially the detail you zoomed in on earlier. A familiar-looking thumbnail is not enough to verify a preferred expression, screenshot text, or edit. Record what survived and whether you want to keep that result.
Do not empty Recently Deleted while you are checking. Apple keeps deleted photos there for 30 days. The removed item’s presence gives you a recovery route during its remaining retention period; it does not turn the merge into a guaranteed match for your preferred version.
The wrong copy survived
If inspection shows that you need a particular removed copy, look for that item in Recently Deleted while it is still available. Apple’s recovery steps are to tap View Album, authenticate with Face ID or Touch ID if prompted, tap Select, choose the item, then use More > Recover and confirm. Recovery returns it to the library. Check the recovered photo itself before deciding what to do next. Apple’s recovery instructions cover the album and controls.
If you use iCloud Photos, deletions sync to your other devices. In a Shared Library, another person’s deletions can affect what you see, and only the contributor of an item can permanently delete or recover it. Keep those conditions in mind when the removed photo is not where you expected. Cloud syncing also is not an independent backup of a version you may later want.
Similar photos still need a decision
When Photos has not offered a set, you can decide whether to delete an item yourself after comparing the full photos. That is your own selection, not the automatic duplicate merge described by Apple, so do not assume it will combine image quality or relevant data in the same way.
If freeing storage is your goal, record the iPhone storage and iCloud storage readings separately before and after your work. The number of items in a merge confirmation does not establish how many bytes you will recover immediately. Keep the content decision separate from those counters, and do not change iCloud settings just to force a storage reading.
Source note: Apple’s linked pages were read October 7, 2026. The one-pair review and follow-up checks are HowCurio procedures for readers to perform; no personal photo library was merged for this article.
KEEP GOING
More to explore.
SOURCE-CHECKEDFree digital life
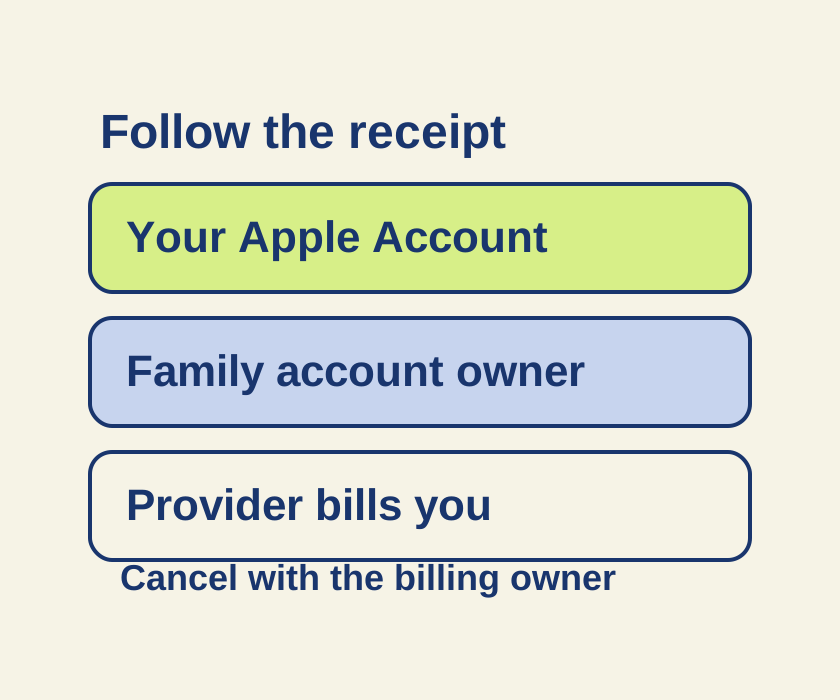
Cancel an iPhone subscription, even when it is missing from Settings
Match the subscription to its receipt before changing accounts or looking for a missing Cancel button.
SOURCE-CHECKEDEveryday tech
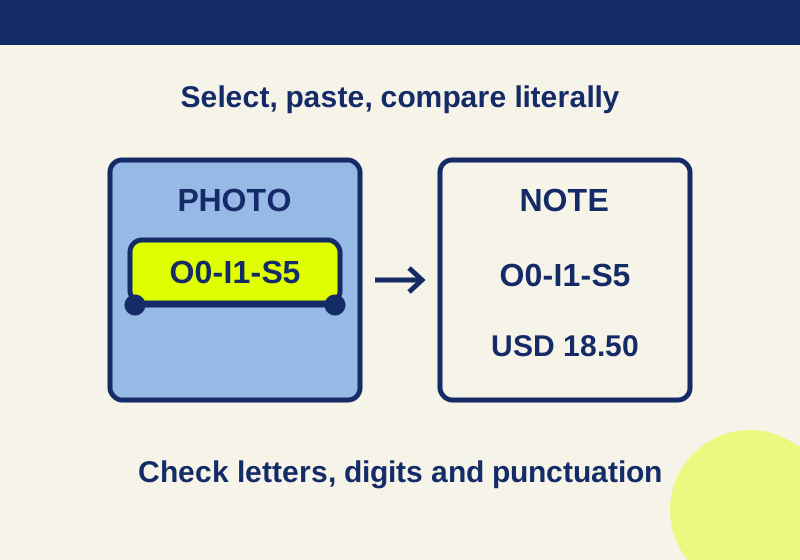
Copy text from an iPhone photo with Live Text, and catch the mistakes before you paste
Turn useful lines in a photo or paused tutorial into text you can edit in Notes.