SOURCE-CHECKED GUIDE · IMAGE WORKFLOWS
Capture one window for a support screenshot
Use Windows Snipping Tool to capture the relevant application window and inspect the saved image before a support ticket.
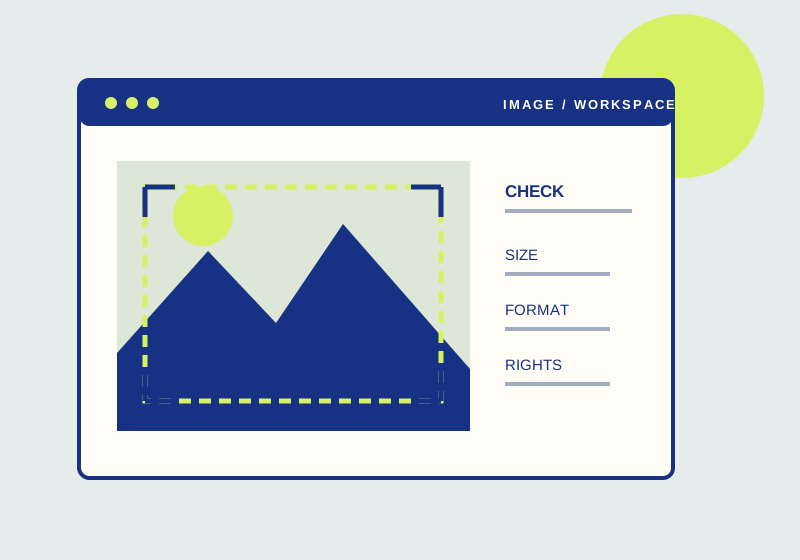
Select Window capture in Snipping Tool to make a support screenshot of one relevant application window, then save a named copy. Arrange that window so the issue you want to report is visible before taking the capture.
Microsoft’s Snipping Tool guide documents window, rectangle, and full-screen capture modes, along with saving a copy. Choose Window mode for this task and select the window that contains the error or behavior the support team needs to see. If the important information appears in a particular part of that window, bring it into view first. Save the resulting screenshot with a name that will help you identify it when attaching it to the ticket.
Choose the capture boundary to match the support question. Window mode keeps the application’s surrounding controls, which can help identify where an error occurred. If that window includes unrelated private fields, a smaller rectangular capture may fit the request better. If a pop-up or second window contains the problem, inspect the snip to confirm it was captured; the selected window alone may not show every element you intended to explain.
For example, suppose a brand portal rejects a logo upload. A useful screenshot would show the rejection message and any visible accepted-format or dimension rule, plus enough of the portal window to identify which upload form produced it. A picture of only the error phrase could leave the recipient unable to tell which setting failed. A full desktop capture could include unrelated tabs or notifications. Use Window mode if its whole frame helps; otherwise use Rectangle mode around the message and the relevant rule. This is a planning example, not a claim that a particular portal was tested.
Open the saved copy and inspect the image itself. Confirm that it shows the intended window, that the relevant message or control is legible, and that the screenshot contains enough context for someone else to understand where the problem occurred. Also review everything visible inside the captured window before sharing the file. Window capture sets the capture area; it does not remove private information displayed within that area.
A single-window screenshot may leave out context that appears elsewhere on the desktop or in another application. If the support request depends on that context, decide what additional image or explanation is needed. These steps follow Microsoft’s documented capture and save controls; they do not represent a test of your ticket system or the screenshot you will produce.
If the saved image is unreadable, recapture after increasing the relevant window’s visible area or choosing a tighter rectangle. Send the file you reopened and inspected, rather than an older snip with a similar filename. The goal is a screenshot that answers the support team’s immediate question without exposing unrelated screen content.
When you attach it, add one sentence stating what action produced the message, such as “The form rejected this JPEG after I selected Upload.” The screenshot shows the state; the sentence supplies the action that preceded it. Check that the example file name or account identifier visible in the screenshot is suitable for the ticket recipient before sending.
This guide explains a workflow using the linked primary sources. We did not independently run every step or verify the result for your files; check the current service screen and your own output.
Primary sources:
KEEP GOING
Related checks.
SOURCE-CHECKED GUIDEBusiness documents
Share one SharePoint file with specific people
Invite named outside collaborators to one file rather than exposing a wider folder.
SOURCE-CHECKED GUIDEImage workflows
Redact contact details in a screenshot
Quick redact covers emails and phone numbers; inspect every other visible private detail.