SOURCE-CHECKED · IMAGE WORKFLOWS
Straighten a tilted photo in Windows Photos
Straighten a tilted photo in Windows Photos and use a real five-degree practice image to see which edge details a crop can remove.
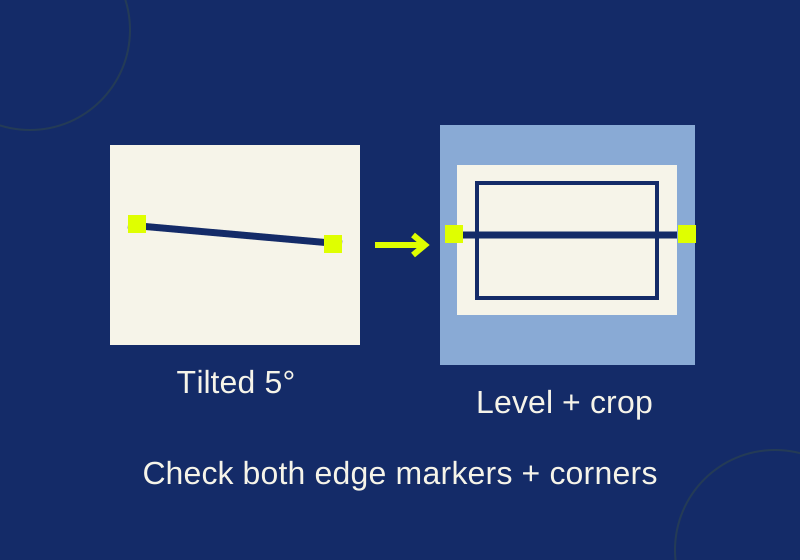
To level a sloping horizon, make a duplicate of the image, open the duplicate in Windows Photos, and select Edit image (or press Ctrl+E). Open Crop, then move the rotation slider in small increments until a reliable horizontal line looks level. Check the edges before saving: straightening can change what fits inside the frame.
Pick a line that should be level
A water horizon is a useful reference. A hillside, roof slope, or diagonal road usually is not. In an indoor photo, a doorframe may provide a better vertical reference than the furniture around it.
Choose the reference before moving the slider, then look at the whole picture after each small adjustment. A horizon can look right while a person or other important detail has moved too close to an edge. If the scene has no dependable straight line, use the elements that matter most to judge the result; forcing one arbitrary line level may make the photo look more crooked.
Try the five degree example
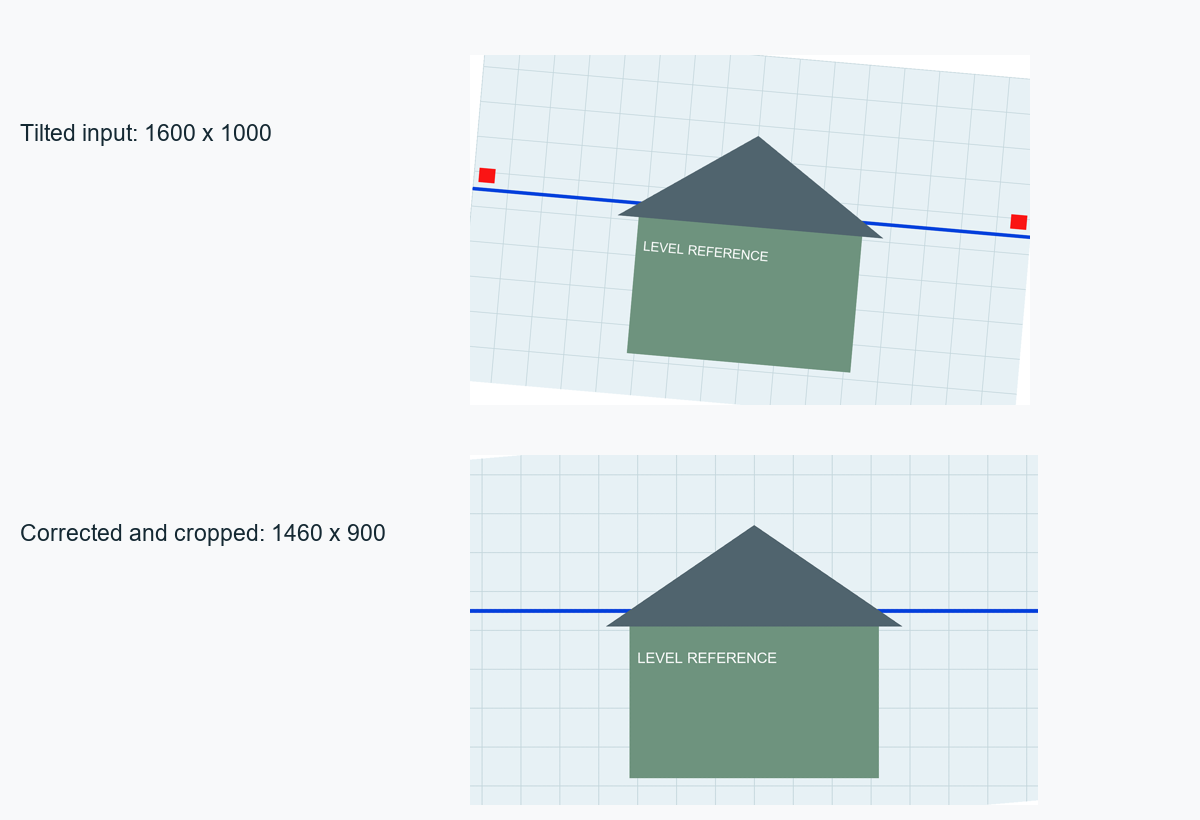
This synthetic practice image shows a house, a grid, a blue horizontal reference, and two red markers near the edges. The 1600 × 1000 input was rotated five degrees clockwise, so the blue line slopes down to the right and the house walls lean. Download it to practice: tilted input image.
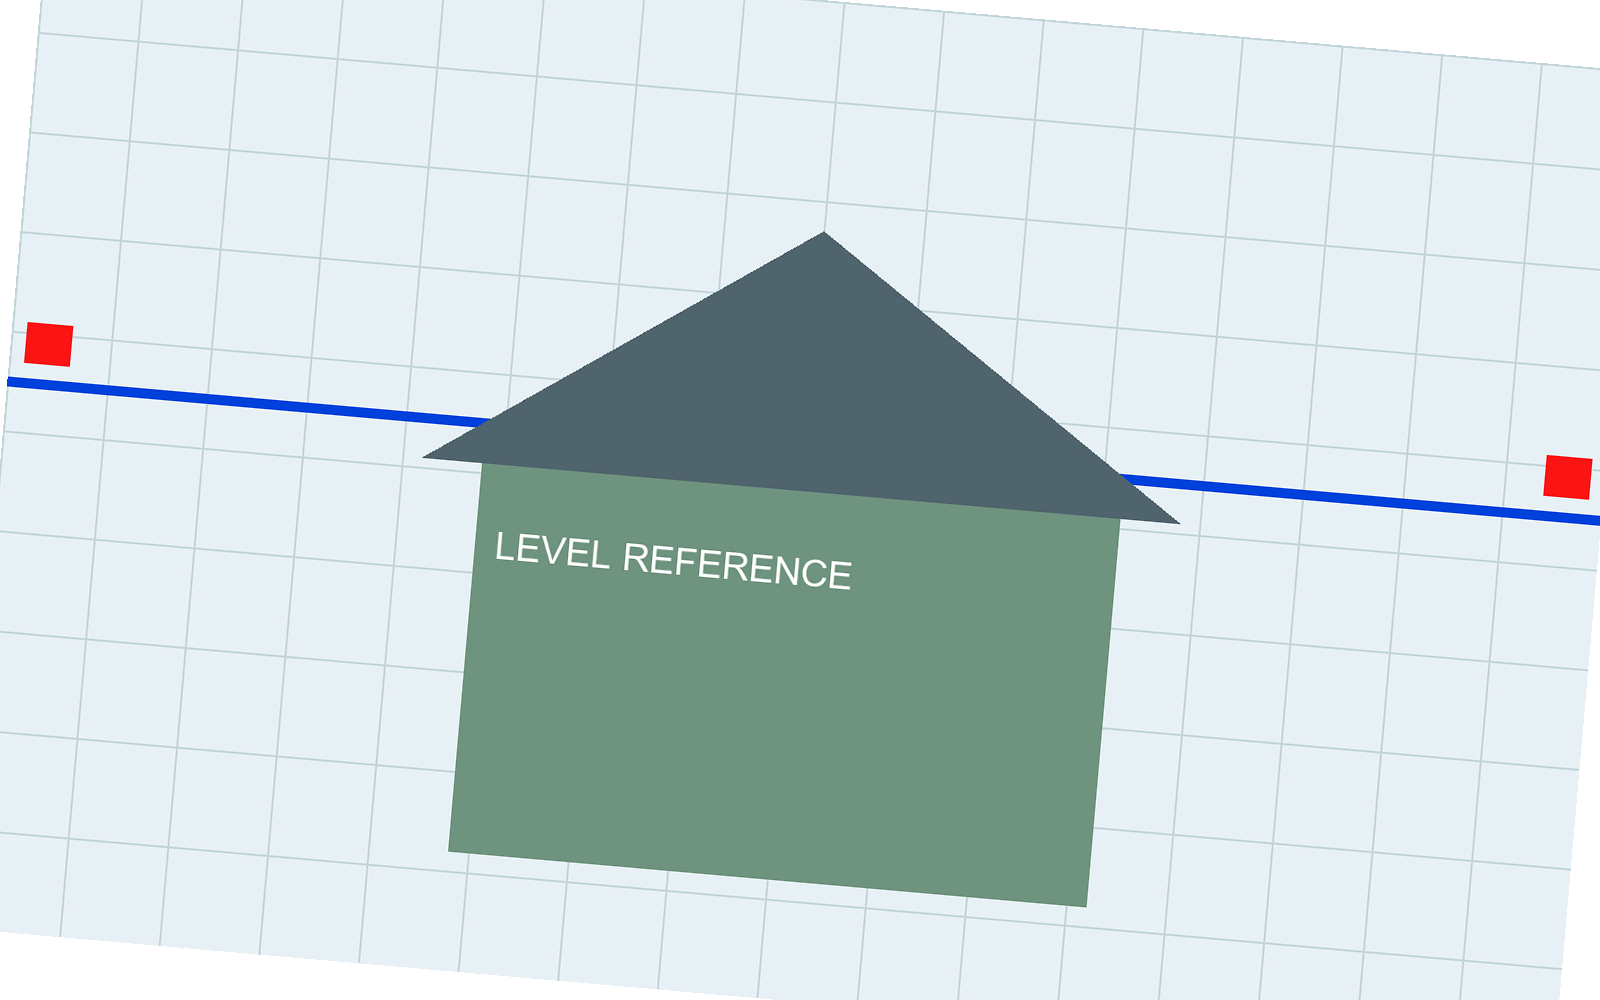
A five degree counterclockwise correction levels the grid in the demonstration. That number describes this known input; it is not a setting to use for every photo or a claim about the angles Photos displays.
The demonstration has two corrected versions:
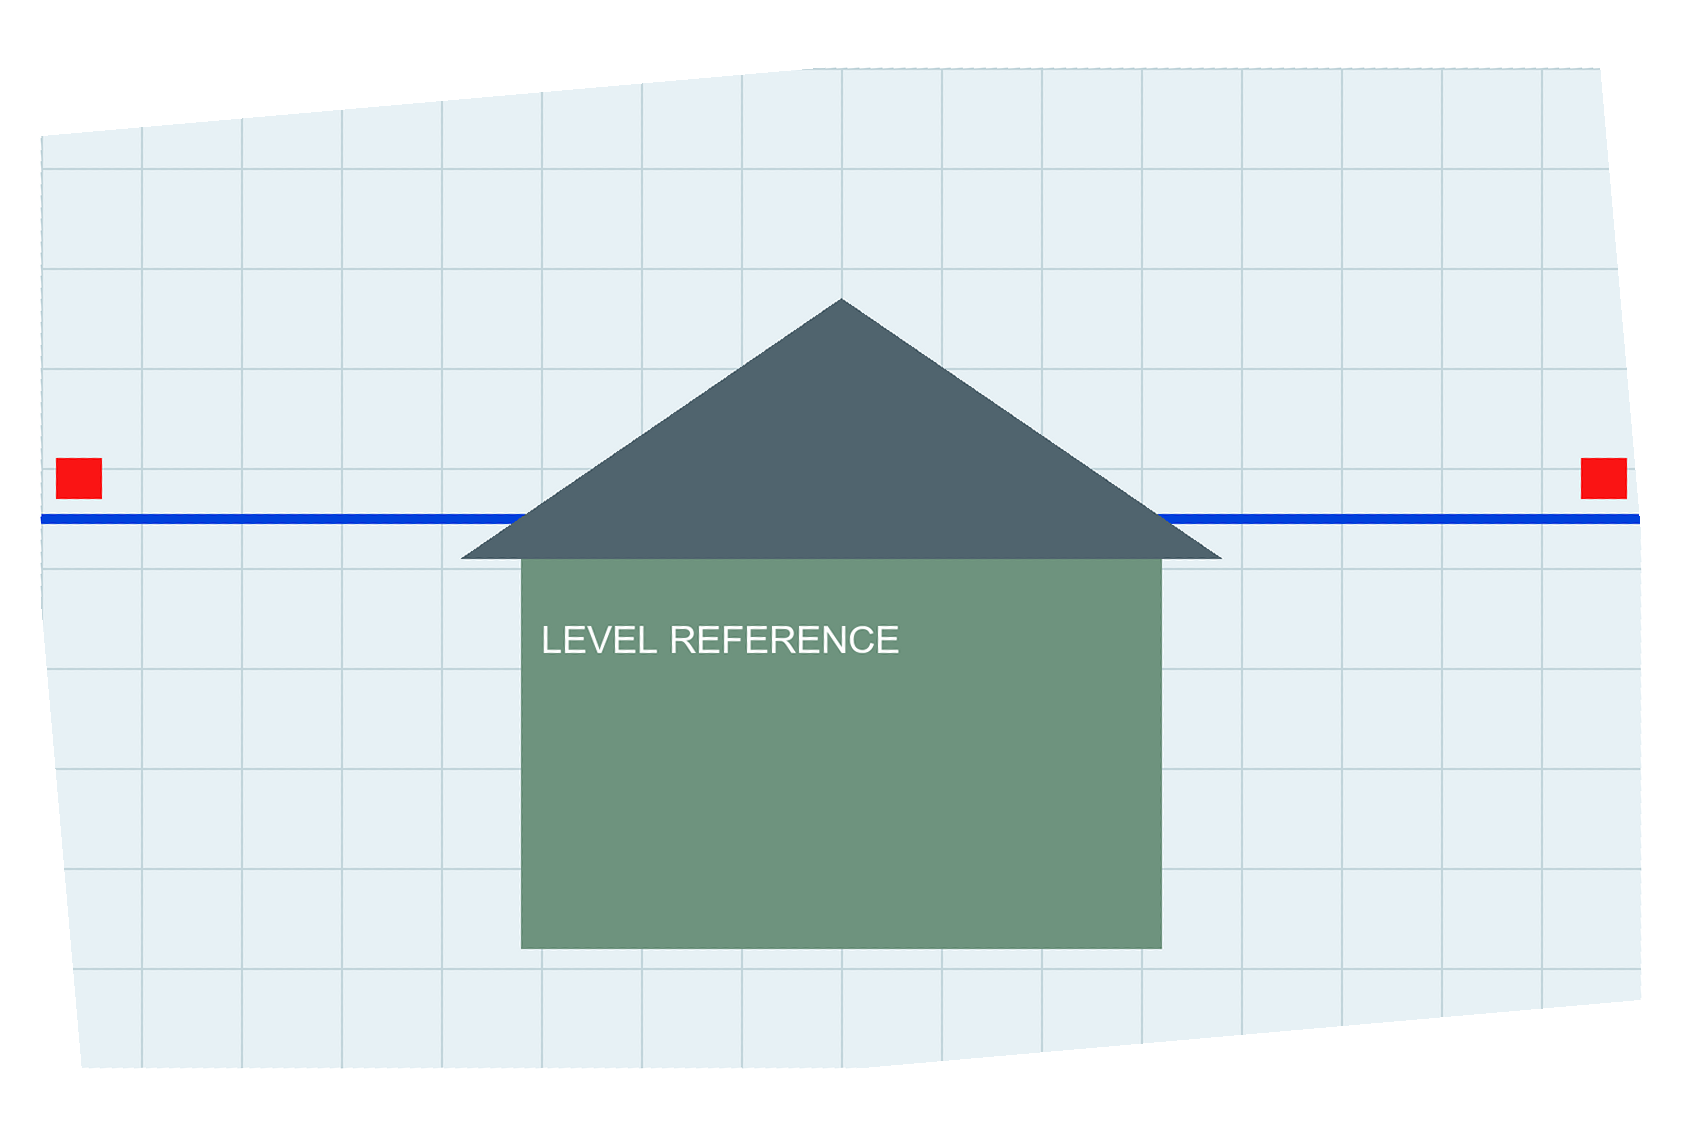
- Level image with the full expanded canvas: 1682 × 1136 pixels. Both red edge markers remain, and white triangular areas appear around the rotated image.
- Level image with a centered crop: 1460 × 900 pixels. The red markers are gone. A few white pixels still remain at the corners, so even this crop could need another adjustment.
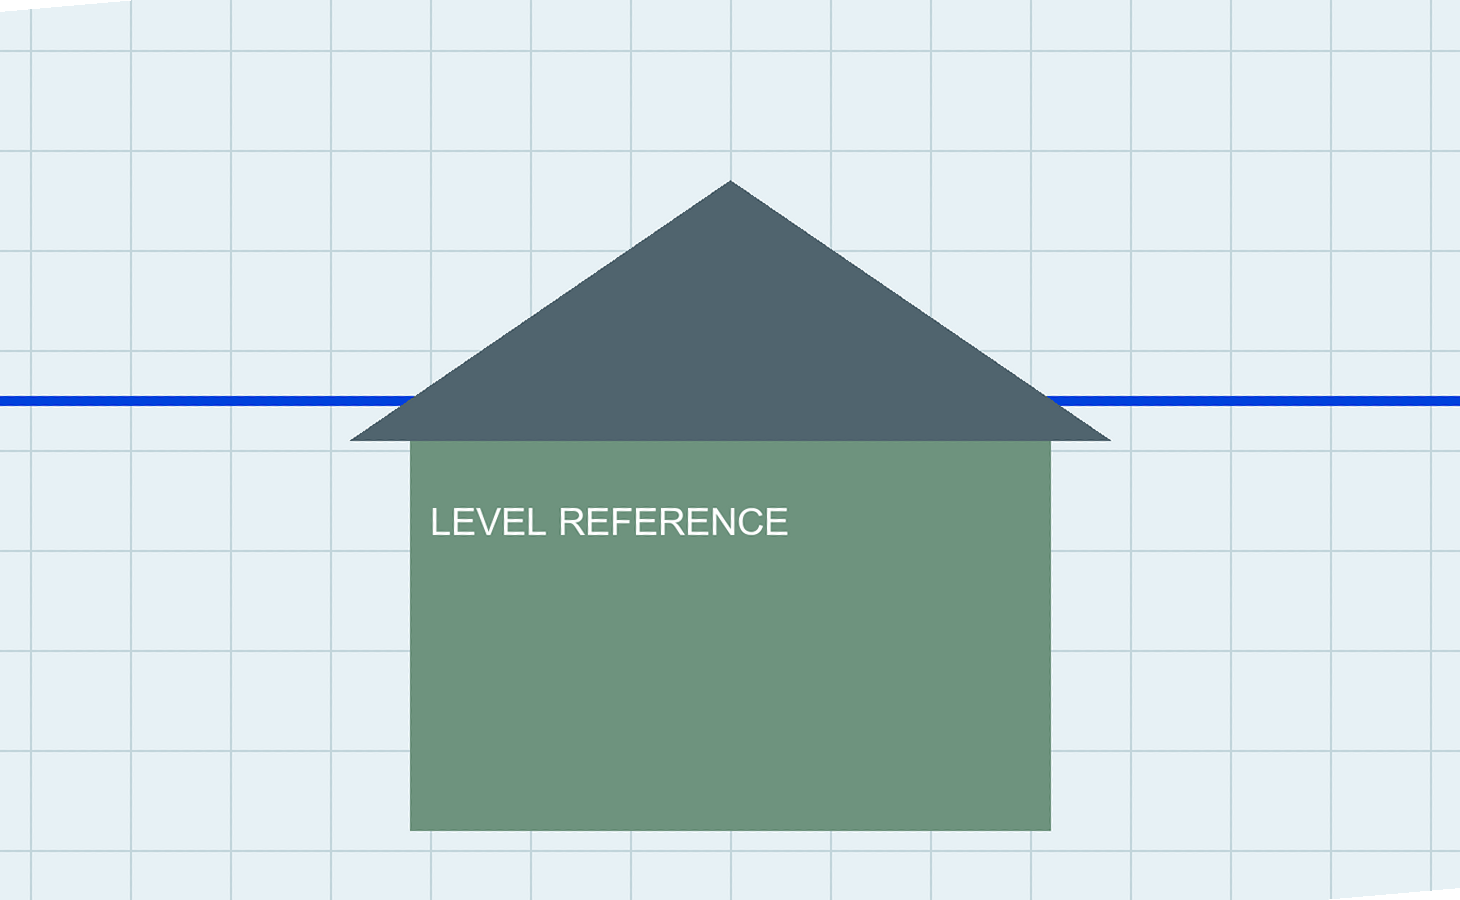
The crop contains 17.875% fewer pixels than the 1600 × 1000 input. That figure compares pixel counts; it does not measure the exact amount of scene content lost. The cropped image also has a slightly different shape from the input.
Check the frame before you save
Rotating a rectangle creates a wider and taller footprint. In the example, keeping the entire corrected image required a 1682 × 1136 canvas around the original 1600 × 1000 input. Cropping that canvas removes the outer areas, where the red markers sit. The demonstrated rotation resamples pixels. Its exported correction preserves the general scene while changing the pixel samples.
In Photos, use the crop controls to decide which parts of your picture stay in frame. Pay particular attention to faces, signs, and details near corners. The example’s dimensions and white areas come from a separate image demonstration; they do not predict the dimensions or crop behavior of a saved Photos image.
If an edge detail matters more than a perfectly level line, try a smaller correction and accept some remaining tilt. If you need both the entire scene and a level reference, an expanded canvas with blank borders is another possible result where an editor supports it; this is not a promise of a Photos control. For a document or other image where the untouched original matters, retain that original separately.
Practice with the edge markers
Open the tilted input and keep a second copy for the edit. Before moving a slider, find the two small red blocks near the left and right ends of the blue line. Their purpose is to make edge loss visible: the house stays near the center in all three files, so judging only the house would miss what the crop removed.
After leveling the blue reference, compare the left end of the frame with the untouched input. Then check the right end. If your copy keeps the house but removes the red blocks, you have corrected the angle and changed the composition at the same time. Try reducing the crop or using a smaller rotation to see which tradeoff is acceptable for your image.
The full-canvas example lets you inspect those same blocks without a crop hiding them. Open its corners as well. The empty triangles show why filling a rectangular frame after rotation requires another choice about its edges. The downloadable cropped example still has small white corner areas because its tilted input already contained blanks; it is a practice comparison, not a prescribed finished export.
Leave room for the intended shape
Angle and aspect ratio are separate choices. The input is 1600 by 1000 pixels, a ratio of 1.6. The centered demonstration crop is 1460 by 900, about 1.622. Its width and height have not been reduced by the same percentage. That is why you should compare the framing after using an aspect ratio preset instead of assuming the straightening adjustment already matches the shape you need.
For a group photo, look at the person closest to each edge before choosing a tighter frame. For a sign or document, include the smallest line of text you need to preserve in that same check. These are reasons to inspect the saved copy at its intended viewing size; a level thumbnail can conceal a cut-off letter or part of a face.
Use the right control for the problem
If the entire picture is on its side, use Photos’ 90-degree left or right rotation buttons. The incremental slider is for a smaller tilt. Flip mirrors the image; it does not level a horizon. Aspect ratio presets change the crop’s shape, so use them only if that framing suits the photo.
If the horizon is level but building edges still lean, the remaining problem may be perspective distortion. A single rotation cannot make lines that converge in the scene parallel. Likewise, rotating to match a sloped roof may throw a genuinely level horizon off.
If the result looks wrong
If the photo now leans the other way, return the slider toward its starting point and correct in smaller steps. If it looks level only when you focus on one corner, reconsider the reference line and inspect the full frame. If you cannot find the described controls, check that the image is open in Windows Photos and that you entered Edit image; controls may differ between Photos versions.
Reset cancels edits in the current editing session. A duplicate also gives you an untouched original to return to after saving. If Photos offers Save as copy, you can use it; make the duplicate first so the original is protected if that option is absent.
Source note: The Photos controls and Reset behavior above come from Microsoft’s editing instructions. The downloadable images are a measured, synthetic Pillow 12.3 demonstration, not files produced by a Windows Photos trial.
KEEP GOING
More to explore.
SOURCE-CHECKEDImage workflows
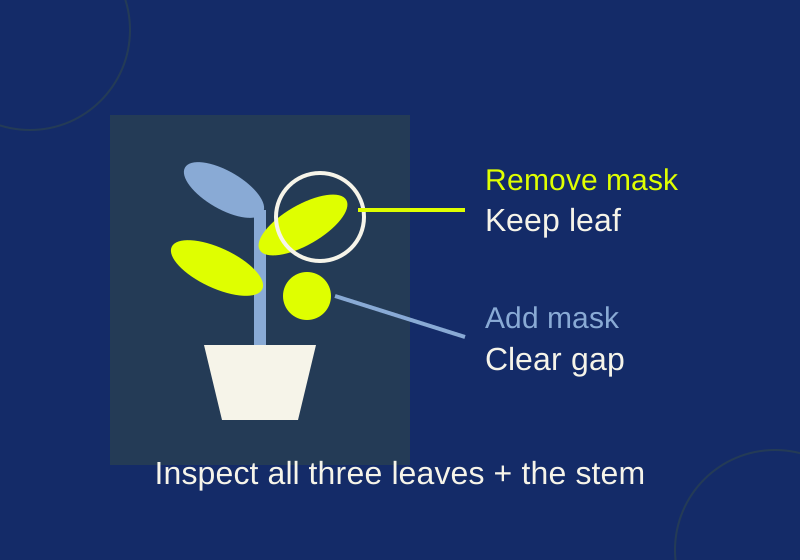
Remove a photo background in Windows Photos without cutting off the subject
Use the background mask in the right direction, then compare the subject with the original before saving.
SOURCE-CHECKEDEveryday tech
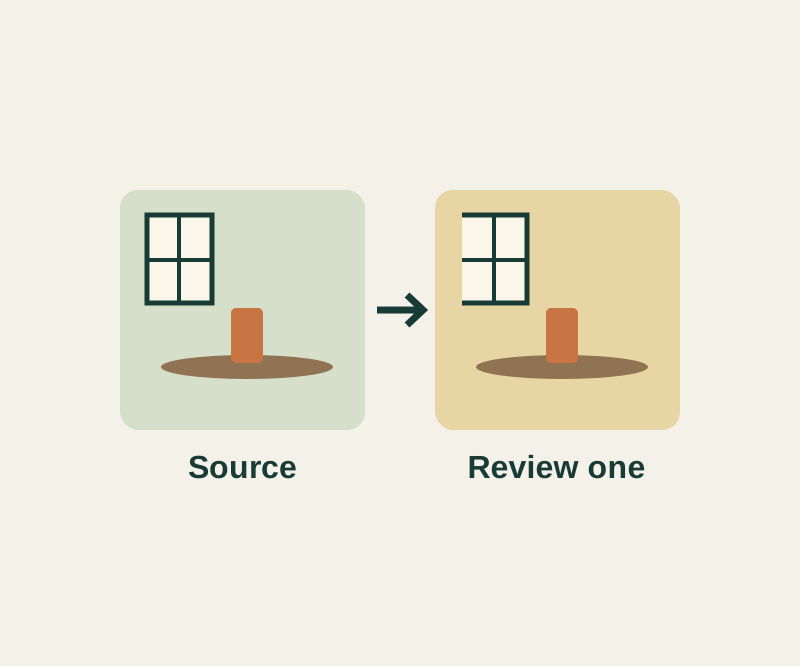
Copy iPhone photo edits to a batch without treating every shot alike
A window-lit sequence can share a starting edit; night, sunlight and stage shots need separate judgments.